

Images play an important role in websites, blogs, online stores, and digital projects. However, large image files can slow down pages, increase loading times, and create a poor experience for visitors. This is why many website owners are now looking for ways to convert PNG to WebP without losing quality.
WebP is a modern image format designed for the web. It can provide smaller file sizes while maintaining excellent visual quality. Developed by Google, WebP supports both lossy and lossless compression, transparency, and modern web performance needs. Google WebP Documentation
If you have PNG images with transparent backgrounds, logos, graphics, screenshots, or website images, converting them to WebP can help improve performance without making your images look blurry or damaged.
In this guide, you will learn exactly how to convert PNG images to WebP, which settings preserve quality, which mistakes to avoid, and how to optimize images properly for websites.
What Is WebP and Why Should You Convert PNG Images?
PNG (Portable Network Graphics) has been one of the most popular image formats for years. It is especially useful for images that require transparency, such as logos, icons, illustrations, and UI graphics.
However, PNG files are often larger because they preserve detailed image information without traditional compression methods used by formats like JPEG.
WebP solves this problem by offering advanced compression while keeping images visually similar. According to Google’s WebP documentation, WebP can create significantly smaller files compared with older formats while maintaining quality. Google WebP Documentation
For example:
- A PNG website banner might be 500 KB.
- The same image converted to WebP might become 100–200 KB.
- The visual difference may be almost impossible to notice.
Smaller images mean:
- Faster website loading
- Better mobile experience
- Reduced bandwidth usage
- Improved Core Web Vitals performance
- Easier media management
If you manage a website, you can also explore SoftCodeOn’s Image Converter Tool to convert images between PNG, WebP, JPG, and other popular formats.
Can You Convert PNG to WebP Without Losing Quality?
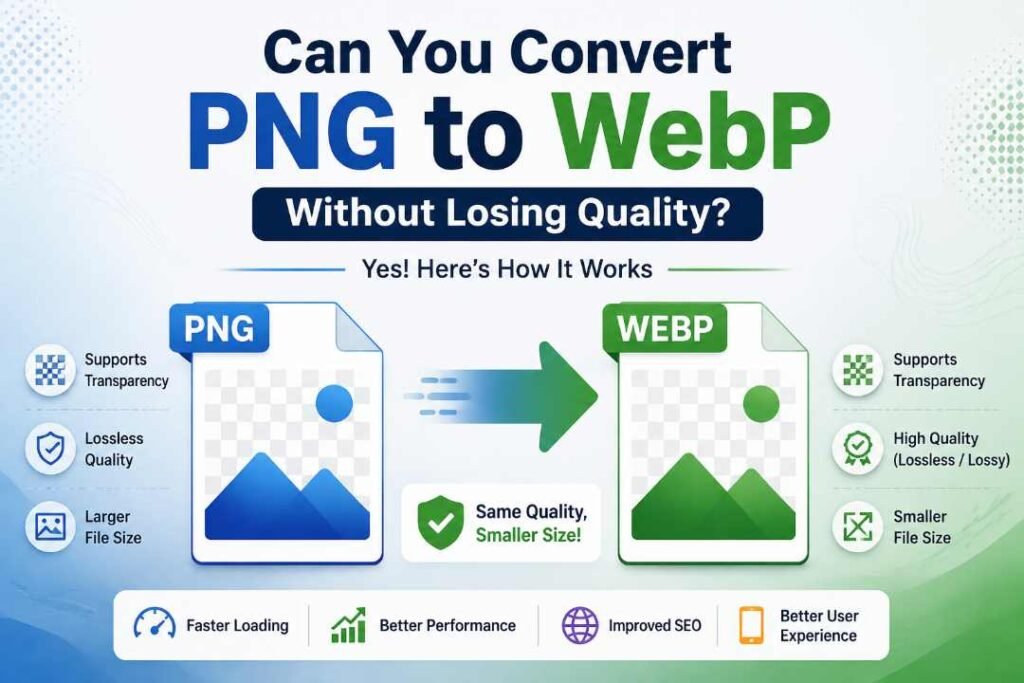
Yes, you can convert PNG to WebP without noticeable quality loss if you use the correct settings.
The key is choosing the right WebP compression method.
WebP offers two main options:
1. Lossless WebP Conversion
Lossless WebP keeps the original image data intact. This means the converted file looks exactly like the original PNG.
This option is best for:
- Logos
- Icons
- Screenshots containing text
- Digital artwork
- Images requiring transparency
The downside is that the file size reduction may not be as large compared with lossy compression.
2. Lossy WebP Conversion
Lossy WebP removes some unnecessary image data to create smaller files.
This option works well for:
- Blog images
- Product photos
- Background images
- Marketing graphics
With a high-quality setting, the difference is usually difficult for viewers to notice.
For websites, many professionals use lossy WebP with carefully selected quality settings because it provides a strong balance between image appearance and file size.
Step-by-Step: Convert PNG to WebP Without Losing Quality
There are several ways to convert PNG files into WebP. The easiest method depends on your experience and the number of images you need to process.
Method 1: Convert PNG to WebP Using an Online Tool
For beginners, an online converter is usually the fastest solution.
Follow these steps:
Step 1: Choose a Reliable PNG to WebP Converter
Select an image conversion tool that supports WebP output and quality controls.
Image Converter Tool allows users to convert common image formats, including PNG and WebP.
Step 2: Upload Your PNG Image
Upload the PNG file you want to convert.
Before converting, check:
- Image resolution
- Transparency requirements
- Original file size
Step 3: Select WebP as Output Format
Choose WebP from the output format options.
If the tool provides quality settings:
- Use 90–100% for maximum quality
- Use 75–90% for web optimization
- Use lossless mode for graphics and logos
Step 4: Download and Compare
After conversion:
- Open the original PNG
- Open the WebP version
- Compare sharpness, colors, and transparency
A good conversion should maintain the same appearance while reducing file size.
Method 2: Convert PNG to WebP Using Photoshop
Professional designers often use Photoshop because it provides detailed control.
Steps:
- Open your PNG image in Photoshop.
- Select File ? Export ? Export As.
- Choose WebP format.
- Adjust quality settings.
- Export the image.
For website images, avoid automatically selecting the lowest quality. A slightly larger WebP file with excellent clarity is usually better than a tiny file with visible compression problems.
Method 3: Convert PNG to WebP Using Command Line Tools
Developers and advanced users can use Google’s WebP tools.
The official WebP package includes conversion utilities such as cwebp for creating WebP images. Google WebP Tools
Example command:
cwebp image.png -q 90 -o image.webp
Explanation:
- image.png = original PNG file
- -q 90 = quality level
- image.webp = converted output
This method is useful when converting hundreds or thousands of images automatically.
Best Quality Settings When Converting PNG to WebP
Choosing the right settings makes the biggest difference.
For Logos and Transparent Graphics
Recommended:
- WebP Lossless
- Preserve transparency
- Maximum quality
Example:
Company logo ? PNG ? Lossless WebP
For Blog Images
Recommended:
- WebP Lossy
- Quality: 75–90%
Example:
Featured image ? PNG ? WebP at 85% quality
For Ecommerce Product Images
Recommended:
- WebP quality around 80–90%
- Keep original dimensions
- Avoid excessive sharpening
The goal is not always the smallest possible file. The goal is the best balance between size and appearance.
Common Mistakes
Many users convert images incorrectly and accidentally reduce quality.
Avoid these mistakes:
Using Extremely Low Quality Settings
A quality setting of 20–40% may create visible artifacts.
You may notice:
- Blurry edges
- Color changes
- Loss of small details
Converting Multiple Times
Avoid this workflow:
PNG ? WebP ? PNG ? WebP
Every unnecessary conversion can affect quality.
Always keep the original PNG file as a backup.
Resizing During Conversion Without Checking
Some tools automatically resize images.
A smaller image may load faster, but resizing is different from converting formats.
Check your dimensions before exporting.
How WebP Improves Website Performance
Website visitors expect pages to load quickly. Large images are one of the biggest reasons websites become slow.
Using WebP helps reduce image weight while maintaining quality.
For example:
A page containing ten PNG images may contain several megabytes of image data. Replacing them with optimized WebP versions can significantly reduce the total page size.
This is especially important for:
- Mobile users
- Slow internet connections
- Image-heavy blogs
- Online stores
If you use WordPress, image optimization should be part of your publishing workflow. SoftCodeOn also covers website speed improvements through guides about WordPress image optimization and speed practices.
PNG vs WebP: Which Format Should You Use?
PNG Advantages
PNG is still useful because it offers:
- Excellent transparency support
- High-quality graphics
- Lossless compression
Best for:
- Logos
- Icons
- Illustrations
WebP Advantages
WebP provides:
- Smaller file sizes
- Modern browser support
- Better web performance
- Transparency support
Best for:
- Websites
- Blogs
- Ecommerce images
- Online content
The best approach is not to completely replace PNG everywhere. Instead, use each format where it makes the most sense.
How to Optimize WebP Images After Conversion
After converting PNG files to WebP, follow these optimization tips:
1. Choose Correct Dimensions
Do not upload a 4000px image if your website displays it at 800px.
Resize images according to their actual use.
2. Compress Before Uploading
You can further optimize converted images using a compression workflow. SoftCodeOn’s Bulk Image Compressor Tool can help reduce image sizes for web usage.
3. Add Proper File Names
Instead of:
image123.webp
Use:
blue-running-shoes.webp
Descriptive filenames help organization and image SEO.
4. Write Useful Alt Text
Alt text helps search engines understand images and improves accessibility.
Example:
Good:
“Blue running shoes on white background”
Poor:
“IMG_4567”
FAQs
Does converting PNG to WebP reduce quality?
Not necessarily. With lossless conversion or high-quality WebP settings, the visual difference can be extremely small while reducing file size.
Is WebP better than PNG?
For most websites, WebP is better because it usually creates smaller files. PNG remains useful for specific graphics requiring maximum lossless quality.
Can WebP keep transparent backgrounds?
Yes. WebP supports transparency, making it suitable for logos, icons, and graphics.
What quality setting should I use for WebP?
For most websites, 80–90% quality provides an excellent balance between size and appearance.
Should I convert all PNG images on my website?
Not always. Convert images where smaller file sizes improve performance, especially large website images.
Final Thoughts
Learning how to convert PNG to WebP without losing quality is one of the easiest ways to improve website performance without changing your design.
The best results come from choosing the correct conversion method, using proper quality settings, and checking the final image before publishing.
For beginners, online conversion tools provide a simple solution. For professionals managing large websites, automated workflows and advanced WebP tools offer better scalability.
By combining WebP conversion with proper image sizing and compression, you can create faster, cleaner, and more efficient websites while keeping your visuals sharp.
Remember: the goal is not just smaller images. The goal is delivering beautiful images that load quickly and provide a better experience for every visitor.
