

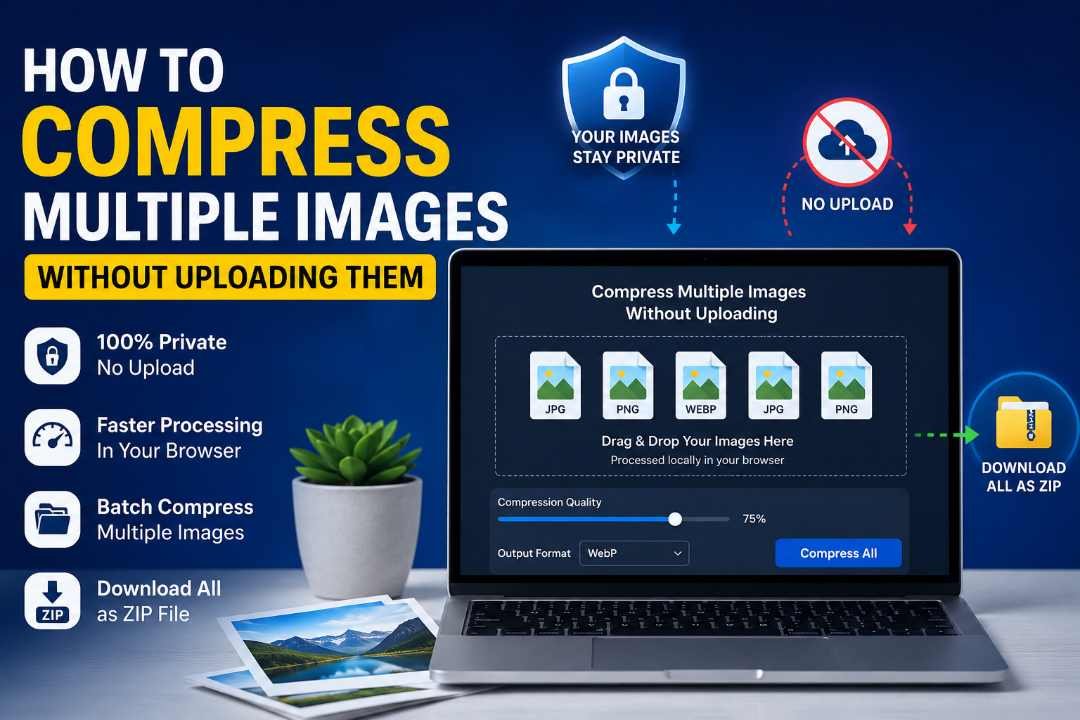
Compressing a folder of images usually means sending every file to an online server, waiting for processing, and downloading the results again. That approach may be acceptable for ordinary graphics, but it is not ideal when the files contain private photographs, client work, product images, identity documents, or unpublished designs.
A safer option is to compress multiple images without uploading them by using a browser-based tool that processes files locally. The images are selected from your device, compressed inside the browser, and prepared for download without being transferred to a remote image-processing server.
Compress Multiple Images Locally in Your Browser
Local image compression reduces file sizes using your device’s browser instead of sending each image across the internet. It is useful when you need a faster batch workflow while keeping control of sensitive or valuable files.
What Does “Without Uploading” Actually Mean?
When a tool processes images locally, the files remain on your device during the compression workflow. You still select them through a file picker or drag-and-drop area, but the compression work happens inside the browser rather than on an external server.
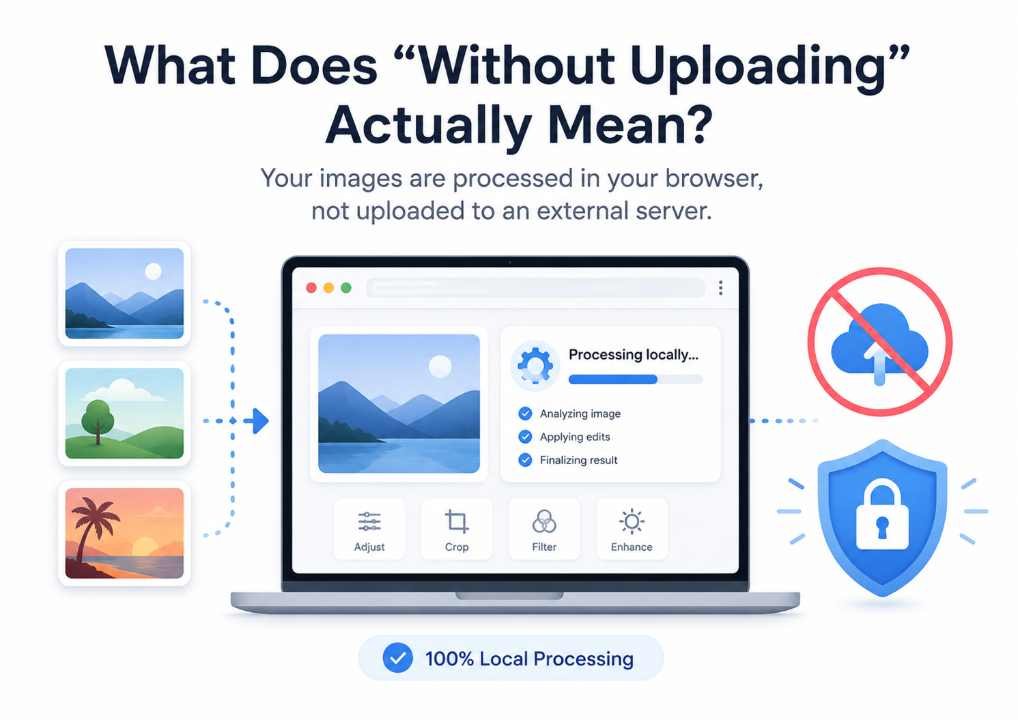
Modern browsers can access files that a user deliberately selects through the File API. They can then read those files, create previews, process image data, and generate new downloadable files. A website cannot simply browse through every folder on your computer; you must choose the files you want to make available.
This is also known as client-side image compression or browser-based image processing. It is different from a traditional upload-based service, where the original files are transferred to a remote system before processing begins.
How to Compress Multiple Images Without Uploading Them
SoftCodeOn provides a bulk image compressor that processes files in the browser. It supports batch compression, quality controls, optional resizing, format selection, before-and-after previews, and ZIP downloading.
1. Select Your Image Files
Open the compressor and choose Select Images, or drag your files into the upload area. You can add JPG, PNG, WebP, GIF, and BMP images to the processing queue.
SoftCodeOn currently allows up to 60 images in one batch, with a maximum size of 80 MB for each file. The selected files are marked for local browser processing rather than server uploading.
2. Choose a Compression Quality
Use the quality control to decide how strongly the images should be compressed. A lower quality setting normally creates smaller files, while a higher setting preserves more visible detail.
Start with a balanced setting and inspect the preview before downloading the entire batch. Photos can usually tolerate more compression than screenshots, logos, diagrams, or images containing small text.
3. Select the Output Format
You can keep automatic format selection or choose JPG, PNG, or WebP as the output. The right choice depends on the type of image and where it will be used.
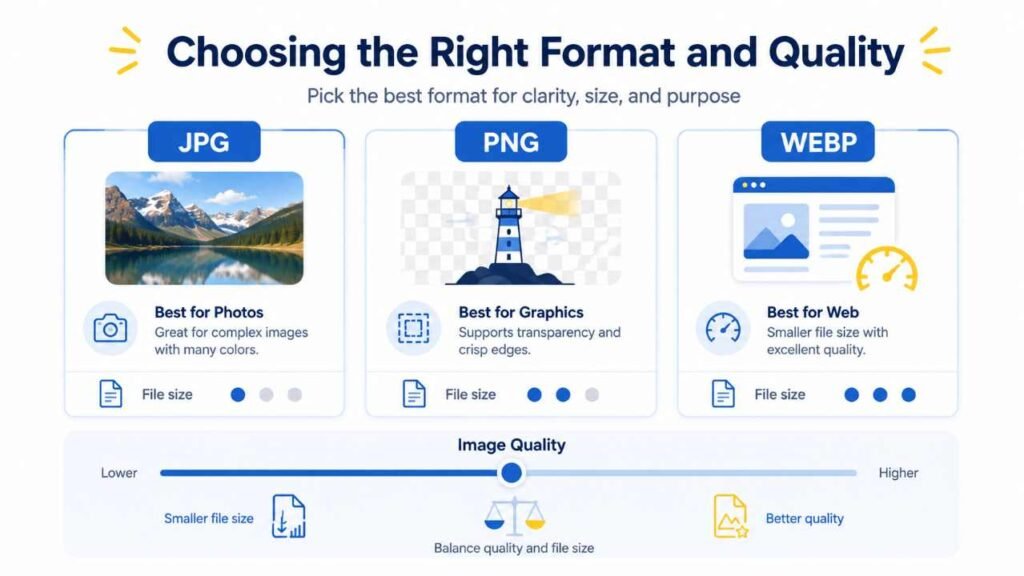
JPG works well for standard photographs, PNG is useful for sharp graphics and transparency, and WebP often provides a strong balance between visual quality and file size for websites. For a fuller explanation, see the JPG, PNG, and WebP comparison guide.
4. Resize Oversized Images When Necessary
Compression changes the way image data is stored, while resizing reduces the actual pixel dimensions. Combining both methods can create much smaller files when the original images are far larger than their intended display size.
For example, an image displayed at 1,000 pixels wide rarely needs to remain 5,000 pixels wide. Enter a maximum width or height, and the tool will preserve the aspect ratio automatically.
5. Compress the Complete Batch
Select Compress All after reviewing the settings. The tool will process the images and display information about the original size, compressed size, and space saved.
The compressor uses a background Web Worker for processing. Web Workers allow demanding scripts to run separately from the browser’s main interface thread, helping the page remain responsive while larger files are processed.
6. Compare the Results
Open the before-and-after preview and inspect images that contain faces, text, fine edges, gradients, shadows, or transparent backgrounds. These areas usually reveal compression damage first.
Do not judge quality only by the percentage shown in the settings. The final appearance depends on the original format, image content, dimensions, and selected output format.
7. Download the Images as a ZIP
After checking the results, download individual images or save the entire compressed batch as one ZIP archive. A ZIP download is particularly convenient when you are preparing product photos, blog images, portfolio files, or social media graphics in bulk.
Keep your original images in a separate folder. Compressed copies are ideal for uploading and sharing, but the original files may still be needed for future editing or higher-resolution exports.
Choosing the Right Format and Quality
The smallest file is not always the best result. The goal is to remove unnecessary file weight while keeping the image clear enough for its intended use.
| Image type | Recommended format | Suggested approach |
|---|---|---|
| Photographs | JPG or WebP | Use moderate lossy compression and check facial details and gradients |
| Blog featured images | WebP | Resize to the required display width before compression |
| Screenshots with text | PNG or lossless WebP | Preserve sharp text and interface details |
| Transparent product images | PNG or WebP | Confirm that transparency and clean edges remain intact |
| Logos and simple graphics | PNG, WebP, or SVG | Avoid aggressive compression that creates rough edges |
Browsers can create compressed image files from canvas content as Blob objects. For supported lossy formats such as JPEG and WebP, the encoding process can accept a quality value between zero and one.
When format conversion is more important than simple compression, use SoftCodeOn’s bulk image converter. It provides additional controls for resizing, batch renaming, rotation, metadata, watermarks, output formats, and ZIP downloads.
Why Local Compression Is Better for Private Images
Local processing reduces the number of places where your original images may be stored, copied, logged, or temporarily cached. This makes it suitable for client projects, personal photographs, draft designs, confidential screenshots, and other files you may not want to transfer to an unknown server.
It can also remove the transfer delay associated with uploading a large batch and downloading it again. Processing speed will still depend on the number of images, their dimensions, their formats, and the power and available memory of your device.
However, a tool being browser-based does not automatically prove that every operation is private. Use a service that clearly states that processing happens locally and that files are not transferred to its server. SoftCodeOn’s compressor specifically describes its workflow as local browser processing.
Will Compression Reduce Image Quality?
Compression can be either lossless or lossy. Lossless methods try to reduce file size without discarding the original image information, while lossy compression removes some data to achieve a greater reduction.
A high-quality lossy image may look almost identical during normal viewing, even though the file is smaller. Problems usually become visible when compression is too strong or when an image is repeatedly edited, compressed, and exported.
Check the following details before accepting a compressed version:
- Small text should remain readable.
- Faces, hair, and fabric should not look smeared.
- Gradients should not develop visible bands.
- Transparent edges should not show halos.
- Colors should remain close to the original.
- The final dimensions should match their intended use.
What to Check Before Uploading Compressed Images
Open several images from the completed batch instead of assuming that one successful preview represents every file. A group may contain photos, screenshots, graphics, and transparent assets that respond differently to the same settings.
Confirm the file names, dimensions, format, transparency, and visual clarity. Also check whether the destination platform has a specific file-size or format requirement before uploading the images.
For website use, keep the image dimensions close to the largest size at which the image will actually be displayed. Uploading an oversized image and relying only on compression still leaves the browser with more pixels to decode than necessary.
Conclusion
The easiest way to compress multiple images without uploading them is to use a tool that performs the work directly inside your browser. Select the files, choose a sensible quality level and output format, resize oversized images when required, review the results, and download the completed batch as a ZIP.
This workflow gives you smaller images without forcing you to send the originals to a remote processing server. It is practical for website publishing, ecommerce listings, client projects, photography, social media content, and any situation where image privacy matters.
